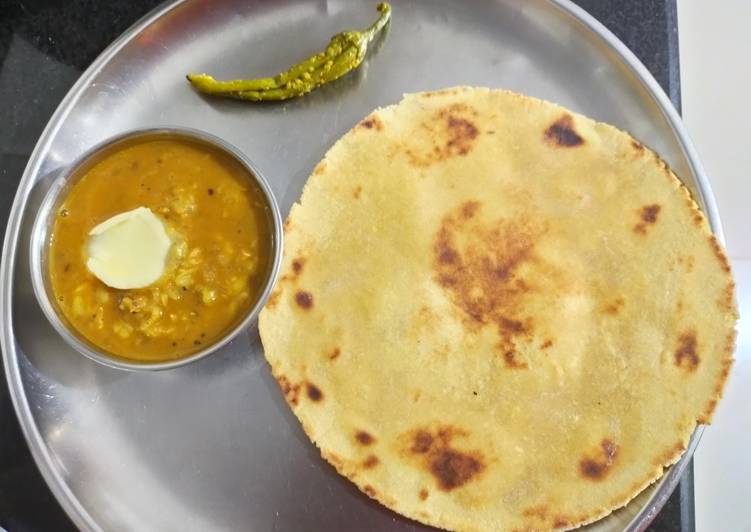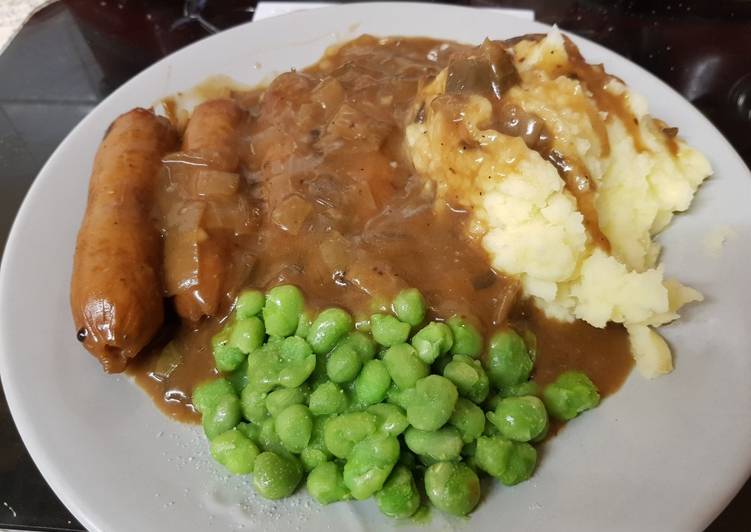
Hello everybody, I hope you’re having an amazing day today. Today, we’re going to make a special dish, improve your food photography. One of my favorites food recipes. For mine, I will make it a bit unique. This will be really delicious.
Improve Your Food Photography is one of the most favored of recent trending foods on earth. It is simple, it is fast, it tastes delicious. It is appreciated by millions every day. Improve Your Food Photography is something which I’ve loved my whole life. They are fine and they look fantastic.
Food photography is arguably one of the most challenging types of photography out there. Like painting, you start with a blank canvas and build. Here are five quick tips you can use to seriously improve your food photography and tell better stories.
To begin with this recipe, we have to first prepare a few components. You can have improve your food photography using 1 ingredients and 11 steps. Here is how you cook that.
The ingredients needed to make Improve Your Food Photography:
- Make ready 1 each Mobile device
Those overhead high-hat lights you have turned on in your kitchen. Yea, those are no bueno either. Five food photography tips that will dramatically improve your food photography! These tips helped me grow from a complete novice to a professional and have.
Steps to make Improve Your Food Photography:
- The easiest way to improve your food photography is to improve your light source. Natural light is best, so shoot outside or near a big window whenever possible.
- If you can't find enough natural light, use a desk lamp to supplement overhead lighting. If your desk lamp is too harsh, a sheet of white paper can be held between the light source and subject to diffuse the light.
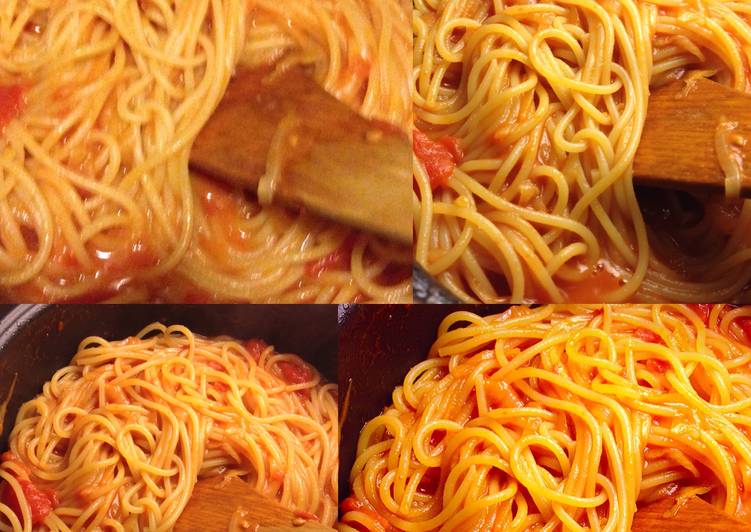
- To give you a better idea of how simple lighting adjustments can drastically improve your photos, I took the same shot with 3 different lighting arrangements.
- The first image was taken in my kitchen, using only existing overhead lighting.
- For this image, I brought in a cheap drop lamp I got at the hardware store.
- And for this image, I used a sheet of paper to diffuse the light from my lamp.
- Now you've got a pretty decent photo to share. Time to move on to editing. By cropping and applying some subtle filters, we can take a good image and make it stand out even more.
- Let's see if we can improve the photo below.
- I like to use a photo editing app called Aviary. It's easy to use and available on Android and IOS. For this photo, I just quickly applied Aviary's 'food' filter, listed under the enhance tab. Quite a difference, and it took about 10 seconds.
- There are many photo editing apps available with countless features, but I recommend keeping it simple. Please don't over edit images, and please avoid applying any clip art or framing to your images (sorry, I violated this suggestion with my cover photo here).
- A final tip. Take plenty of different shots at various angles. That way, you'll increase your chances of finding a base image with a great angle and crisp focus.
I sure do hope that was helpful for you guys. Honestly, if you have questions about something you read. Food photography is great fun and really easy to get into. All you need is a camera (which if you own a smart phone, you already have) and some food. Food photography and portrait photography are the same - as a photographer you make the model look their best.
So that is going to wrap this up with this special food improve your food photography recipe. Thanks so much for reading. I’m confident that you can make this at home. There is gonna be interesting food at home recipes coming up. Don’t forget to save this page in your browser, and share it to your loved ones, colleague and friends. Thanks again for reading. Go on get cooking!